Squarespace is one of the fantastic website builders. It’s ideal if you’re using for your website without wanting to worry about the setup and maintenance hassles of CMSes like WordPress.
You’ll be surprised with how quickly and easily you can put together a gorgeous website with nothing but a domain name and Squarespace subscription.
In this Squarespace for beginners guide, we’ll look at the exact steps you need to take to create and launch your first website.
We’ll cover the following Squarespace components:
- Design (customizing the overall look and feel of your site)
- Pages (adding content to your site)
- Settings (fine-tuning SEO and other business settings)
Once you understand these components, you’ll be able to build any kind of a website using the platform.
Navigation
- Step #1: Signing up for Squarespace
- Step #2: Understanding Squarespace (Part #1): Design Options
- Step #3: Understanding Squarespace (Part #2): How “Pages” work
- Step #4: Exploring Squarespace
- Wrap up
Tools list
- Platform – Squarespace
- Domain registrar – Name Cheap
- (That's all you need, simple!)
How to use Squarespace… The preparation before you start
Before you start using Squarespace to build your website, you’re going to need a few things:
1. Domain name
As one of our website setup steps, we’re going to link your domain name with your Squarespace account.
So, you will need a domain name. If you haven’t purchased a domain name yet, purchase one now.
You can buy it from Squarespace too, but I won’t recommend that.
Domain transfer between hosting providers or website builders or CMSes is always easier when the domain is registered with a third party domain registrar.
NameCheap is an excellent domain name registrar service that gives competitive prices and great service. Check it out to buy a domain name for your Squarespace website.
Note: If you need help in registering a domain name for your website, these domain name generators might help.
2. A rough idea of your site’s navigation structure
Knowing your site’s navigation structure (or its main menu items) before starting to build it makes the process faster. So take a paper and draw how your site menu will look like. This exercise will help in finalizing the different pages you’ll be adding to your site.
For example, you could add some of the following pages to your site:
- About
- Start here
- Portfolio
- Services
- Hire
- Store
- Features
- Pricing
- Team
- Contact
3. Copy and graphics
The last thing you’ll need before you begin creating your site is content. So write rough drafts of all the pages that you’re going to add.
Also, pile up all the images (or videos) you’re going to need to build your Squarespace website. If you need stock images, arrange those too. Having the right images can have a huge impact on conversions.
Having all the content and media handy will a lot of time later.
Let’s now begin with building the site.
(If you’ve already signed up for a Squarespace trial, jump to the first part of the guide.)
How to build your first Squarespace website
Step #1: Signing up for Squarespace website
All Squarespace plans begin with a free trial. To sign up for a free trial, visit Squarespace and choose the option to ‘CREATE A SITE’:

Next, choose a template.
To make this step easy, Squarespace groups its themes into the following categories:
- Businesses
- Portfolios
- Blogs
- Musicians
- Restaurants
- Weddings
- Personal
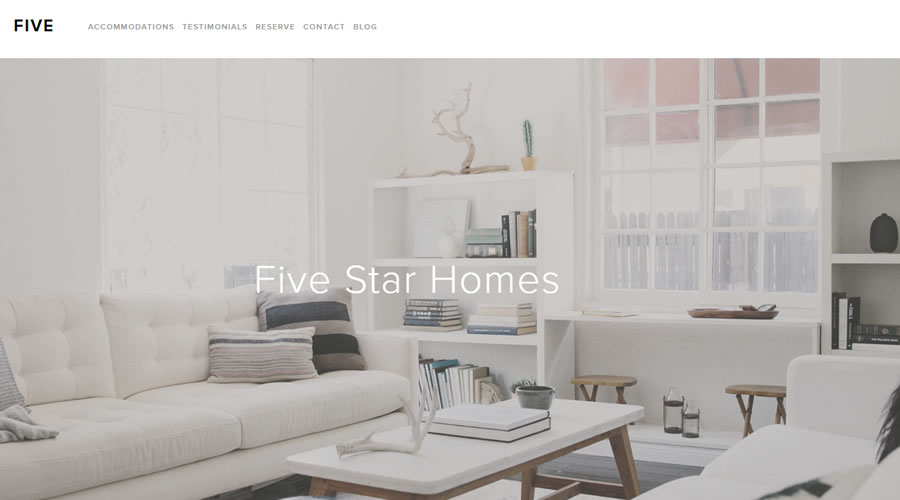
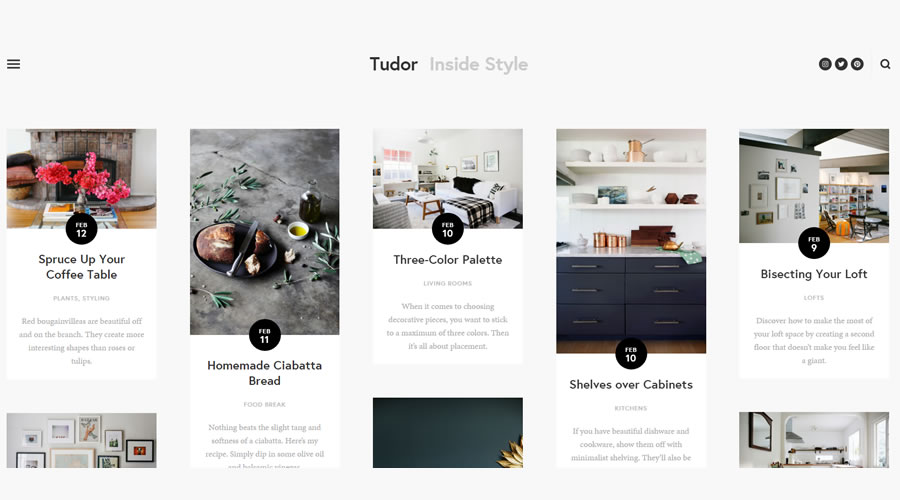
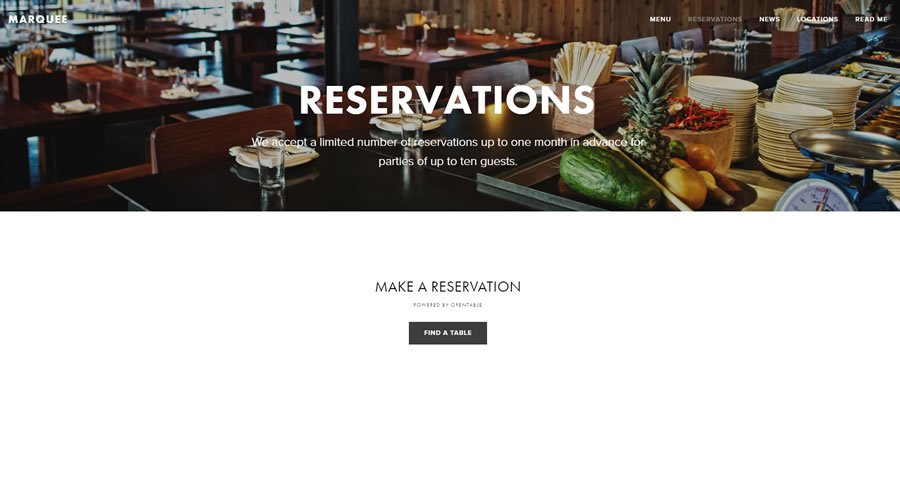
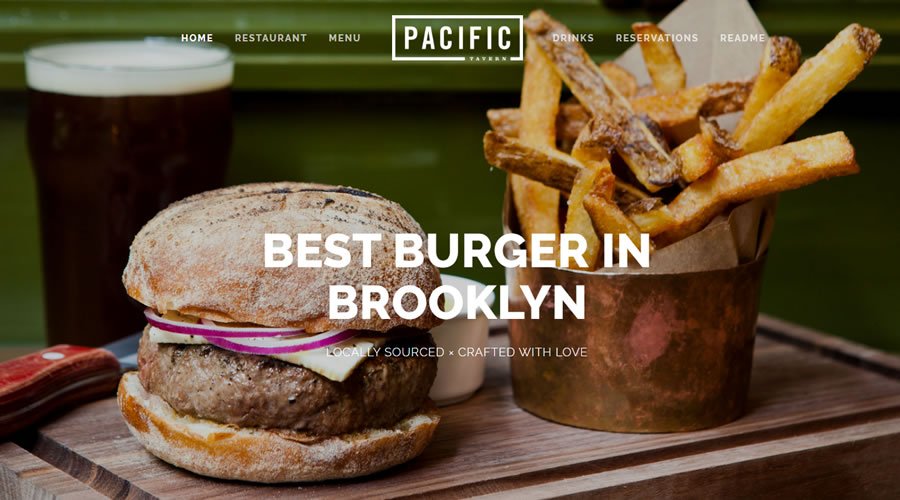
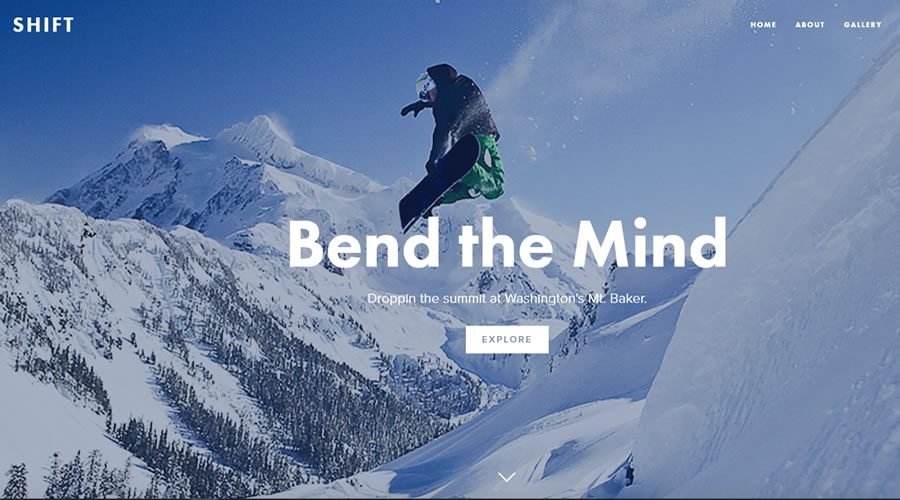
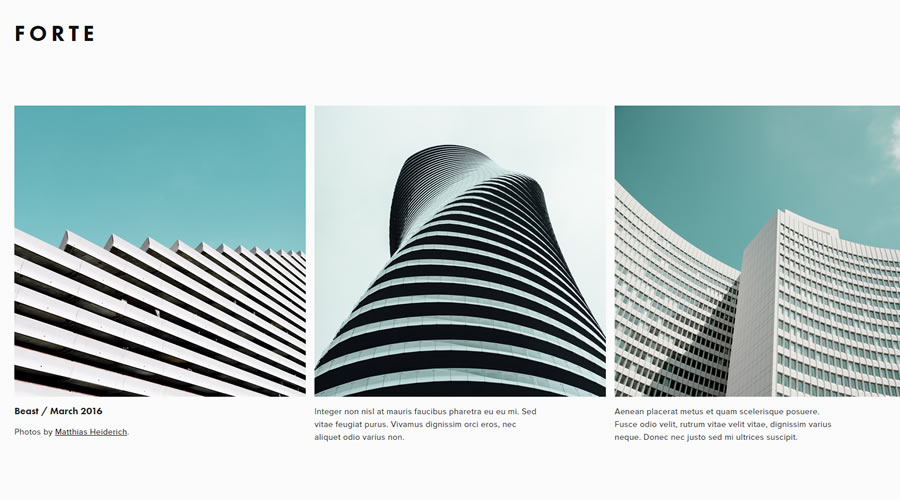
Squarespace Themes Samples
Here are a number of designs you can find at Squarespace themes. Click on the following thumbnails to have a clearer view.


Walkthrough Squarespace the signup process
For the purpose of this walkthrough, I set it up using my Squarespace account.
I’m going for the business category and am choosing the template, Montauk.

Once you choose a template, Squarespace will show you a short signup form:

Upon finishing the signup, you’ll be directed to a 4-step Squarespace site content personalization process.
1. Choosing who the site is for

2. What is this website about?

3. What are your goals for this site?

4. Naming the site

Upon completing the site content personalization questionnaire, I see the following screen.
As you can see in the screenshot, on the left, there’s a panel with various design settings and preferences. And on the right, there’s a preview of my website.

Step #2: Using Squarespace (Part #1): Design options
Squarespace has 10 items under its design settings:
- Logo & Title
- Template
- Style Editor
- Checkout Page Style Editor
- Lock Screen
- Announcement Bar
- Mobile Information Bar
- Squarespace Badge
- Custom CSS
- Advanced
Let’s take a detailed look at each of these elements.
1. Logo & Title
We’ve already given our site a name, and so in this step, I’ll add a tagline. Let’s set the tagline to ‘A resource for Squarespace beginners’.
Once I click on the button, I’m directed to Squarespace’s logo maker tool.
This logo maker tool lets you:
- Choose from a ton of logo icons
- Create just a text-based logo
- Go for an image logo
- Change the font and color of the logo text
- Preview how the logo will look on business cards and other branding material
Overall, Squarespace's logo maker tool is pretty intuitive. It has its various design elements or icons on the panel on the left-hand side.
When I searched for the keyword ‘website’, I got many great icons. I chose the one you can see on your right and made an image logo.
I tried to download a high-resolution version of the logo, but the editor prompted me to sign up for a Squarespace account to be able to do it.
But still, a low-resolution version can be downloaded at this point too. That will do for now.
Once your Squarespace trial ends and you upgrade to a premium plan, you should be able to download the high-resolution version without any problem. When you get the high-resolution file, you can upload it to your Squarespace site.
The next two options under this design item are setting the favicon and the social sharing logo. If you have these, great. Otherwise, move on to the next setting.
To save the changes you’ve made so far, click on the ‘SAVE’ button on top of the panel.
Note: If you want to create an awesome favicon for your website, here is a list of free favicon generator you can have a look.
2. Template
The ‘Template’ section shows all the templates that are downloaded inside a Squarespace site.
Right now, as you can see, my templates list just includes the template Montauk because this is the template I signed up with when setting my trial.

If you’re happy with the template you’ve chosen, go to the next step. Or, you can download more templates.
Tip
- Don’t spend time on downloading and switching templates at this point because it won’t be helpful.
- It’s only after you design your site and upload content to it that you’ll be able to understand how the different templates are showing your content.
- You won’t be able to figure out much with the demo content and images.
How to find out what Squarespace template a website is using
If you see a Squarespace template you like and wondering what theme it's using, here's how to find out,
- Right-click on the page > View Source / Page Source
- You will notice <!– This is Squarespace. –> near the top of the code to indicate it's a Squarespace website
- Press Ctrl + F to search the page for: templateid and copy the code
The template, Montauk, I'm using is having the template id: 50521cf884aeb45fa5cfdb80. Try yourself.
After finding the template id, you can refer to the Squarespace template family to take you to the official Squarespace demo site.
3. Style Editor
The Style Editor is used to customize a template’s settings such as its fonts, title color, logo position, footer contents among several others.
Each template will offer different customization options in the Style Editor.
But because all the Squarespace templates are designed to perfection, I’d recommend staying away from this section, unless of course, you’re a designer!
4. Checkout Page Style Editor
The Checkout Page Style Editor helps in customizing the settings of the checkout page. This setting is mostly helpful to Squarespace sites that have stores or are store websites.
5. Lock Screen
Squarespace allows you to lock pages with passwords. All such pages don’t display the contents but show a lock screen.
If you don’t customize the Lock Screen at all, here’s how it will look.

5. Announcement Bar
The Announcement Bar lets you add a sticky notification on the top of your site. This is an excellent feature to draw your readers’ attention to some of your important content.
Once you enable the Announcement Bar, you can add your message and the link the users should click on.
As you can see in the above screenshot, you can make the link open in a new window.

6. Mobile Information Bar
As the name suggests, the Mobile Information Bar displays before mobile users and can be used to display your email, phone number, location, and business hours.
Squarespace fetches this information from its ‘Business Information’ section, which we’ll see later.

7. Squarespace Badge
Squarespace adds its branding (badge) to all the websites built with it.
The Squarespace Badge settings let you enable or disable the Squarespace badge, adjust its position, and fine-tune the display settings.
8. Custom CSS
If you want to customize your template beyond the font, colors, and other default customization options, you'll have to take the help of Custom CSS.
Remember that adding custom CSS can break the design of a template — not recommended.
9. Advanced
The Advanced option lets you add more fonts from Typekit to your Squarespace website. The Advanced settings also have advanced template settings.
So that wraps up the design part of your Squarespace site.
Next, we’ll look at Squarespace pages and how you can use them to upload content to your freshly designed site.
Step #3: Using Squarespace (Part #2): How ‘Pages’ work in Squarespace
Once you’ve chosen a template, customized it, and added your site’s title and logo, it’s time to start adding content.
Squarespace Pages allow you to:
- Add pages (and content) to your site (for example: About, Contact and more)
- Add a blog to your site
- Add a store to your site
- Build your site’s main menu
Let’s start with the main menu.
When you access the pages settings for the first time, you’ll notice that the ‘TOP NAVIGATION’ shows the menu items from the demo.
For now, I’d like you to just forget about the pages from the demo and start adding your own pages.
For each page that a site typically needs, Squarespace has provided pre-made templates.
For example for pages like the About, Features, Store, Contact and more — you already have ready-to-use page layouts that you can just load to your site.
1. How to add a page to a pre-made template
Let’s see how you can add a page to a pre-made template.
As you can see in the following screenshot, there are two ‘+’ signs you can click on to add a page to your site.
When you click on the first option, you don’t just add a page, but you also add it to your website’s main menu.
And when you click on the second option, you simply add a page.

I’d suggest you to start adding a page with the second option. After you’re done with creating the pages, delete all the demo pages, and drag all your freshly generated pages and drop them under the TOP NAVIGATION.
Let’s add an ‘About’ page. Once you click on the item ‘Page’, you’ll see the following options on the panel on the left-hand side:

Once I click on ‘START EDITING’, the selected about me page layout gets loaded in Squarespace’s page editor. To edit the page elements, hover on the page’s top (which is right under the navigation), and you’ll see the following options panel open up:

Click on ‘EDIT’.
At this point, you can either start editing the page content, or you can click on the ‘+’ sign at the top of the page to add more design elements to it.


Once you add an element to your site, it’s easy to rearrange its position with the simple drag and drop functionality.
Note:
If you customize the default layouts and add different elements including the spacer element, sometimes your mobile preview can look funny — more so, the spacing between the different elements can look a bit off.
(The default layouts render beautifully, though.)
Adding other pages is similar to adding the about page.
For now, it’s best to use the default layouts if you want to get the site up and running super-fast.
At the end of this step, you should have all the pages of your site ready to be moved to the main menu.
But before making the move, delete the demo pages.
Next, drag and drop your newly-made pages to the ‘TOP NAVIGATION’.

Once you’ve cleaned up your navigation, it’s time to work on the pages.
2. How to add content to Squarespace pages:
To add content (or to customize the design of a page), just click on the page’s name.

Once you click, the page editor will load and you can replace the template’s content with the content you wrote in the preparation steps.
3. How to configure some high-level page settings
High-level page settings can help with a page’s:
- Navigation title
- Title
- Description (often used for SEO)
- URL slug
- Header image
- Tracking code

To make higher-level changes to a page or to delete it, click on the settings icon next to a page’s name.
Also, to set a page as the homepage, you need to open these settings for the selected page and choose the ‘SET AS HOMEPAGE’ option.
An important Squarespace page: the blog
Although you can add a blog as a simple page in Squarespace, you may need to do a few additional settings for it.

To add a post, click on the ‘+’ sign on the blog menu item options.
The post editor is pretty intuitive.
At the bottom, you will see settings to add a category and tags to your post.


The Options settings let you:
- Add a featured image to a post
- Assign an author to the post
- Write an excerpt
- Mark a post as a featured post
Hopefully, with the above section, you’ll have a great looking website ready with your content and even a blog.
Let’s now look at Squarespace settings.
Step #4: Using Squarespace: Exploring the settings
Using Squarespace’s settings are easy. They are grouped into 3 categories:
- General
- Website
- Commerce
Of these, the ‘General’ category allows you to add business information like your business name, address, tax id, and more.
And the ‘Commerce’ settings are relevant to someone who wants to run an online store or add a store to their site.
Of these categories, the ‘Website’ category is the one I’d like to talk about.
The ‘Website’ settings include:
- Basic information – This setting helps you add an excerpt about what your site is about. Some templates display this information, so you should fill it out.
- Domain – After you’ve purchased a domain, you should come back this setting and point your Squarespace site to that domain. Third party domain integration is a breeze.
- Emails – The next item is Email. Gmail business email integration can be done here.
- Connected accounts – You can connect your social media accounts with your Squarespace website here. The next time that you add social media profile icons anywhere on your Squarespace site, Squarespace will use information from this section and automagically link the icons to your profiles.
- Marketing – Inside the marketing setting options, you’ve settings for SEO, social media, and Google Adwords.
SEO settings from here will help you add an SEO excerpt for your site. This excerpt is visible to a user on the search engine results page. You can also set the URL formats of the different items on your site. The social media settings will help you decide which share buttons you want to show on your website. The Google Adwords marketing setting is for sites that use Squarespace’s Business or Commerce plans. - Blogging – The blogging settings help you set the blog post URL format.
Don’t change the default format – it’s already reader-friendly. However, if you like, you can remove the year, month, and date from it. These settings also allow you to integrate connect your blog with Disqus, a commenting service. This way, your users will be able to comment on your content via their Disqus accounts. (There’s a default commenting system too if you don’t want Disqus.)
The blogging settings also help you to enable AMP providers to show the AMP version of your blog posts. (AMP optimized pages are ones that show toned down versions web pages to mobile visitors — this helps in offering a blazing-fast mobile browsing experience.) - SSL – You can choose between a secured and an insecure version of your site under SSL setting. Choose the secured version because Google prefers secure websites over insecure ones.
- Advanced – The advanced settings allow you to import site content from other website builders or CMSes. It also lets you export your site to WordPress.
If you create a custom 404 page for your site, you can use the advanced settings to show your customized 404 page instead of the default 404 page.
You can also add your Google Analytics account number via these settings. Doing so will automatically install the Google Analytics script to your site.
That’s it.
If you’ve been following this guide’s instructions, by now your first functional (if not a perfect) Squarespace website should be ready.
The first thing to do after launching your Squarespace website
Once you launch a new website, your first task is to get it indexed by Google.
To speed up the indexing process, you must submit its sitemap to Google Search Console.
A Squarespace website’s sitemap can be found at:
http://www.yourdomain.com/sitemap.xml
So copy your website’s sitemap URL and submit it via Search Console.
How to build a Squarespace website – Wrapping it up
Creating a Squarespace website and tweaking and customizing it to perfection shouldn't take you more than a week. Once you’re done, you don’t have to worry about updates or hacking or hosting or anything else; Squarespace will manage your website for you.
I hope this guide equips you to build a rough version of your first Squarespace site in less than 10 hours (factoring in time for buying the domain and other things).
Note: If you looking for alternative platforms, here is a list of platforms to build your own website.


